Today we talked about our digestive systems so of course our art project had to do with food. I bought some generic fruity cereal and cut up some yarn for stringing. I taped one end of the yarn on the table so the cereal wouldn't slide off.
We ran into some problems, though. Some kids were struggling because the yarn wouldn't fit through every piece of cereal, or it would get caught and start unraveling. So I swapped the yarn for some string.
It was much easier for everyone. We had some beautiful necklaces.
I told the kids they couldn't nibble on them throughout the day, though, or they'd have to put them in their cubbies. (I know, how cruel!)
Tuesday, January 24, 2012
Body Tracing
We are learning how our bodies work this week. Yesterday we learned all about the brain! Here is an idea that other teachers might want to use in their classrooms. I traced one child's body from his head to his upper legs and I hung it on the wall near our circle time area.
Then I found some coloring pages of a brain, heart, lungs, and stomach and intestines.
(UPDATE: Although I can't find the site for the coloring sheets I used, this site has some good ones to choose from!)
I photocopied them onto brightly colored paper and laminated them.
Every morning this week, I pick four kids to put them in the correct place on the traced body.
A few times in the past I've traced every child's body and hung the tracings on the walls around the room. Then each day the kids would color the organ we were learning about and tape it onto their body! They really enjoyed making their bodies "come to life." I kind of regret not doing that again this year. Oh well, there's always next year!
Then I found some coloring pages of a brain, heart, lungs, and stomach and intestines.
(UPDATE: Although I can't find the site for the coloring sheets I used, this site has some good ones to choose from!)
I photocopied them onto brightly colored paper and laminated them.
Every morning this week, I pick four kids to put them in the correct place on the traced body.
A few times in the past I've traced every child's body and hung the tracings on the walls around the room. Then each day the kids would color the organ we were learning about and tape it onto their body! They really enjoyed making their bodies "come to life." I kind of regret not doing that again this year. Oh well, there's always next year!
Sunday, January 22, 2012
Counting With Snowmen
I skipped out for the weekend to celebrate my mom's 70th birthday, but now I'm back home and wanted to show you something my kids did on Friday as part of our Winter unit. It's another fabulous idea I got from I Heart Crafty Things. I wrote 5 numbers randomly on the bottom of a piece of paper.
Each paper had a different sequence of numbers. Then, because we didn't have any bingo dot markers, I put some corks into bowls of paint.
The kids used the corks to paint the correct amount of dots above the number. The dots were placed on top of each other to make snowmen.
When they were dry, the kids used markers to add the snowman features.
Each paper had a different sequence of numbers. Then, because we didn't have any bingo dot markers, I put some corks into bowls of paint.
The kids used the corks to paint the correct amount of dots above the number. The dots were placed on top of each other to make snowmen.
When they were dry, the kids used markers to add the snowman features.
They turned out really cute! And when they were done with the counting sheets, I let them paint whatever they wanted with the corks. It was fun!
Thursday, January 19, 2012
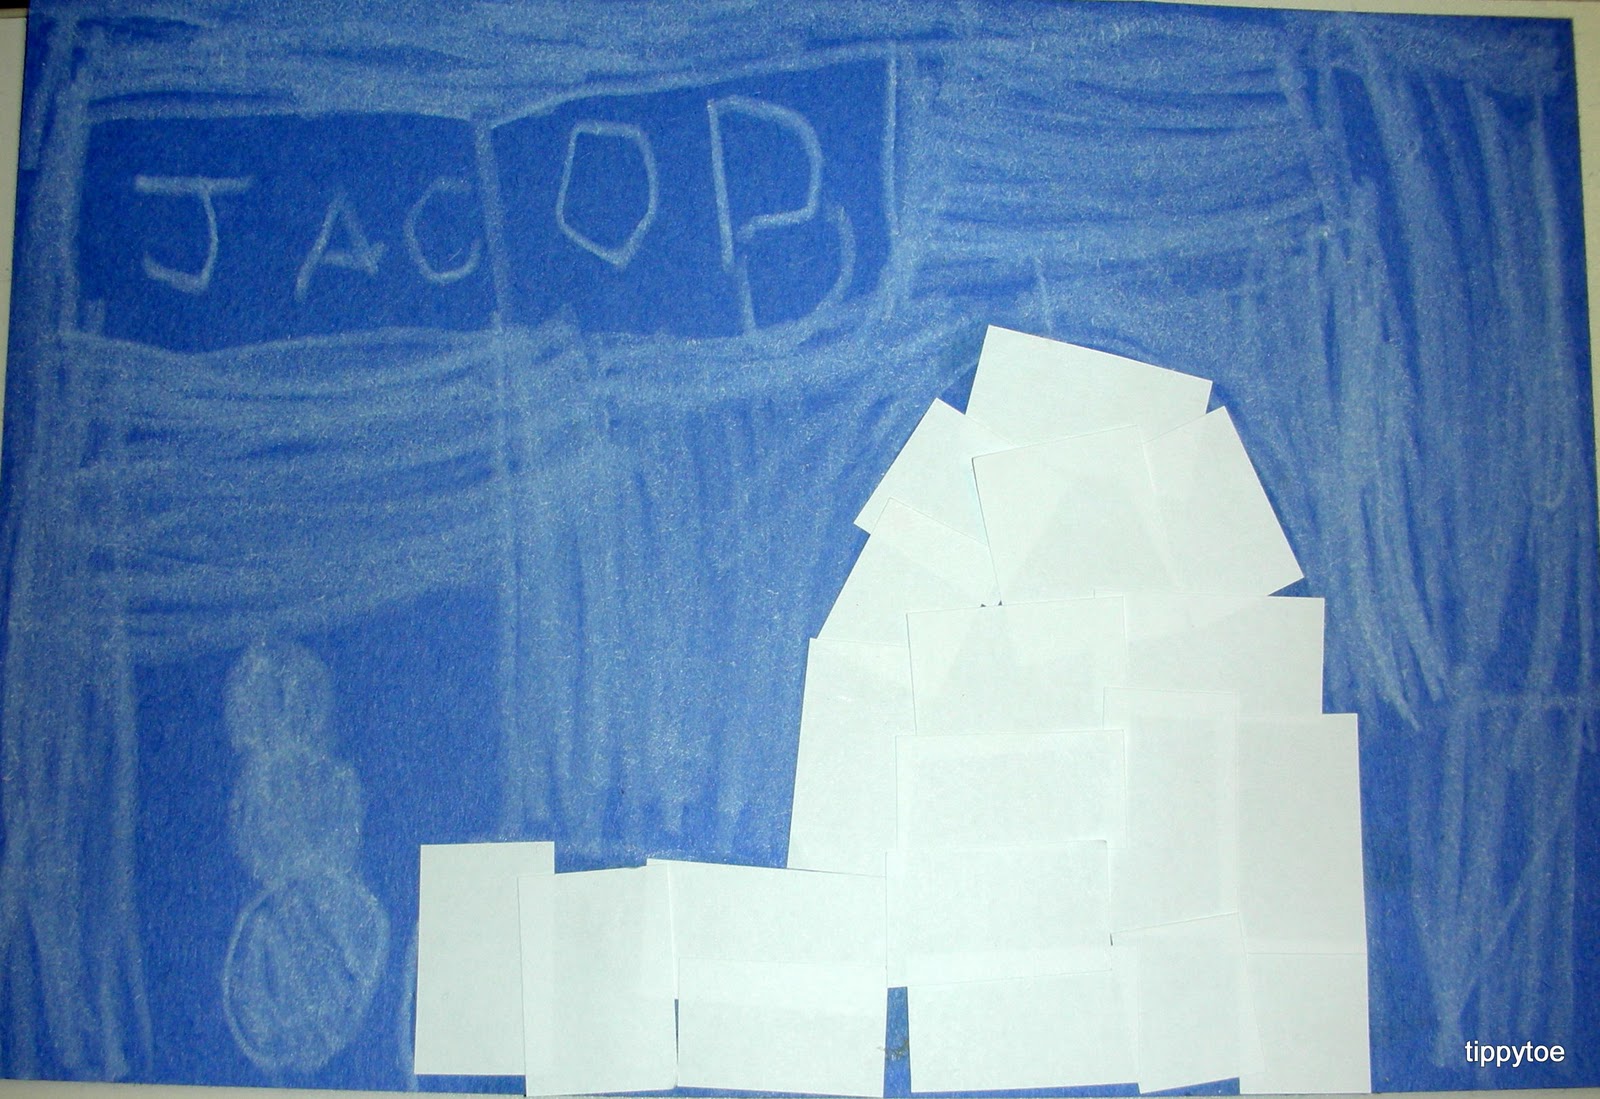
Little Igloos
I have another simple craft to share with you today. I cut up a bunch of white paper into squares and rectangles.
The kids drew an igloo shape (described by me as one big hump next to one little hump) on a piece of blue paper.
Then they filled it in with the white paper using a glue stick.
When the little igloo was finished, they could use the white crayon to draw in some scenery.
This could also be done by having the kids tear up white paper into little pieces. I've done that in the past and it works great!
The kids drew an igloo shape (described by me as one big hump next to one little hump) on a piece of blue paper.
Then they filled it in with the white paper using a glue stick.
When the little igloo was finished, they could use the white crayon to draw in some scenery.
This could also be done by having the kids tear up white paper into little pieces. I've done that in the past and it works great!
Wednesday, January 18, 2012
Snowy Scenes
We did a very simple project today. I put out some white paint and I was going to have the kids paint whatever snowy scene they wanted. But then I started digging around in my storage bins and pulled out some snowflake stamps
and a whole lotta "bling!"
I found these which could be carrot noses:
and these for coal eyes:
I told them they didn't need to make snowmen, but of course most of them did.
and a whole lotta "bling!"
I found these which could be carrot noses:
and these for coal eyes:
I told them they didn't need to make snowmen, but of course most of them did.
I like how some kids used the sequins to embellish the snowflakes.
So pretty!
Tuesday, January 17, 2012
Rainbow Snowflakes
Yesterday we colored coffee filters with markers and I sprayed them with water so the colors blended together.
Today we folded them in eighths.
The kids cut them up very carefully.
Most did pretty well with this, but some struggled. Although it is much easier than cutting through folded paper, the kid scissors sometimes seem to be a little too dull. But the results were beautiful.
I hung them on our door.
A few weeks ago I found this bulletin board display. There was a poem about talking to Winter's wizard and asking for a rainbow blizzard. So I printed out the words, "Wishing for a Rainbow Blizzard" using colorful letters and put it on my door with the snowflakes.
It's so pretty and adds a lot of color to our room!
Today we folded them in eighths.
The kids cut them up very carefully.
Most did pretty well with this, but some struggled. Although it is much easier than cutting through folded paper, the kid scissors sometimes seem to be a little too dull. But the results were beautiful.
I hung them on our door.
A few weeks ago I found this bulletin board display. There was a poem about talking to Winter's wizard and asking for a rainbow blizzard. So I printed out the words, "Wishing for a Rainbow Blizzard" using colorful letters and put it on my door with the snowflakes.
It's so pretty and adds a lot of color to our room!
Monday, January 16, 2012
"Five Little Snowmen" Booklet
Have you heard this song?
Five little snowmen fat,
Each with a funny hat.
Out came the sun
And melted one.
Oh, what a sight was that.
Four little snowmen fat...
I taught that to my kids today and they had fun pretending to melt like snowmen. We made a little booklet for it. I cut a piece of light blue paper into six equal parts. We used finger prints to make the snowmen. I started with the end of the song (one snowman) first and painted the children's pinkies with white paint. Then I painted two fingers, then three, and so forth. When they were dry, I stapled the pages together with a blank page on top. I had printed out the song and cut up each verse. The kids glued the verses to the correct page, on the opposite side.
Then they decorated their snowmen with silly hats!
Some of them got really creative!
Here's what I would change about this if I did it again. I'd use a darker paper so the hand prints showed up better, although not so dark that the kids couldn't decorate it with markers or crayons. I also would like to make each page bigger, but I was really trying to just use one piece of paper per child. But the kids enjoyed making them (and reading them to each other!) so that's all that matters, right?
Subscribe to:
Posts (Atom)