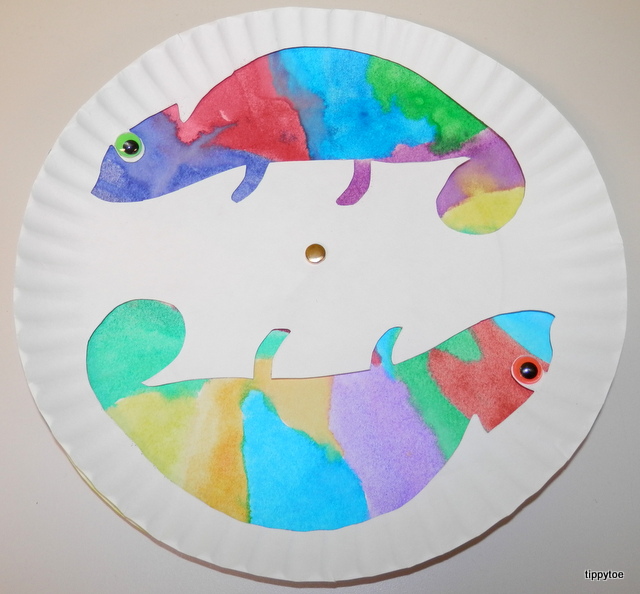
Today's Eric Carle book was
The Mixed-Up Chameleon. After teaching the kids about chameleons (like how they actually change color according to their mood or temperature, not to hide!), I read the story and we got to work on our craft.
When I made my example (above), I cut out two chameleons. But when I prepared the craft for the kids, I only cut one out. I traced a chameleon template (from a coloring sheet I found) onto a paper plate.
I left little spots on the head so they would have some place to attach the neon wiggle eye. The kids took another paper plate and painted it with watercolors.
I really like all the colors blending together. I was tempted to have them "paint" the plate with just water first, and then go over it with watercolors, but I didn't.
Once it was dry, I found the center of the plates, used a scissors to poke a hole, and used a brass fastener to attach the chameleon plate on top of the painted plate.
Then the kids could turn the plate to make their chameleon change colors!
I didn't think it was a big deal if I just eyeballed the center of the plate, but if you are a perfectionist you might want to measure. If the fastener isn't in the exact center of the plate, when you spin the plates you will get this:
Eventually the plates won't be lined up anymore. It didn't bother me or the kids, though. I'm glad I left a spot for the eye. I only wish I could have made the tail look more like it was curled up instead of just a ball, but I didn't know how.
Fun Fact: A chameleon's tongue is often as long as its body!