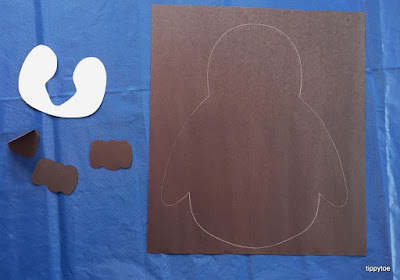
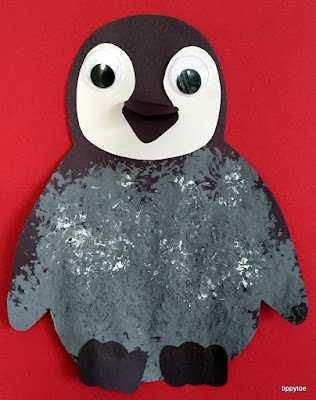
I kind of used this coloring sheet as my template, but made it more symmetrical. I traced a body onto black paper. I cut out a white face, a black beak and black toes.
Then I made puffy paint by mixing glue and shaving cream and added in some white and black paint.
If I had to do it again, I wouldn't bother with puffy paint. The kids used porcupine balls to paint the body of the penguin and you can't really put it on thick when using those. It didn't dry puffy at all, so it wasn't necessary. They dabbed the ball all over to create a fuzzy-looking texture. I covered up the head with a paper towel so they wouldn't paint it, but I'm sure older kids wouldn't need that.
Then they dabbed on some plain white paint right over the gray paint.
Next it was time to glue on the white face and beak. We turned the paper upside down so they wouldn't have to lean over the wet paint. And because a black beak would have been lost on the black part of the face, I made them three dimensional by folding the paper before cutting them out.
Then wiggle eyes were glued on. When the paint was dry, I cut them out and the kids added toes to the bottom of their penguins. They turned out so much cuter than I imagined!
I love the crooked white face on my daughter's above. Totally adorable!
Fun Fact: When a penguin chick hatches, it immediately starts calling so its parents recognize its voice. This is important so that when the mother or father return after getting food, they can find their chick just by the sound of its voice.


No comments:
Post a Comment